Really Cool Digital Make up in Photoshop in 10 min

Why use real make up if you can do a digital make up and make the skin look pretty and smooth. It's simple, fast and very effective.

Well, on this tutorial you will learn step by step the basics of digital make up on a persons body.

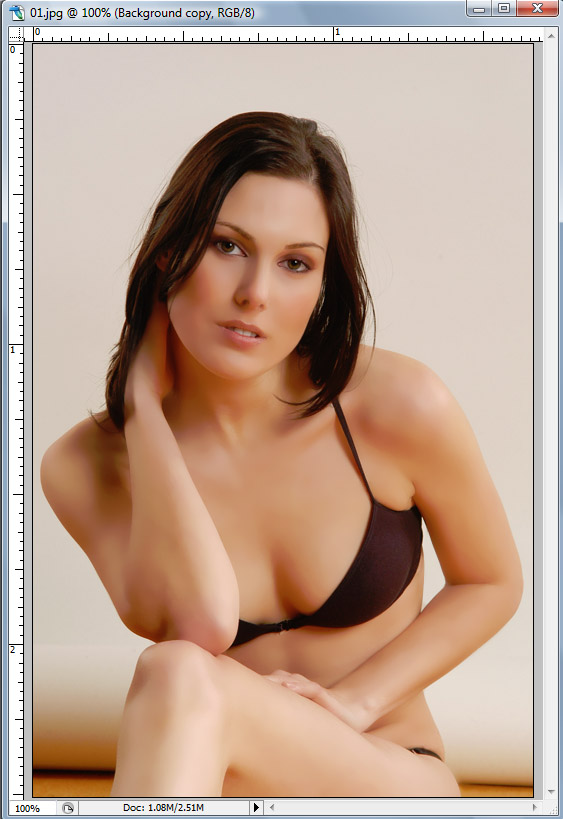
First you have to get the photo you want to apply the digital make up, I choose a photo from the stock gallery of Samantha Draven.

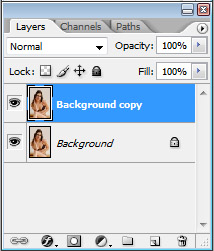
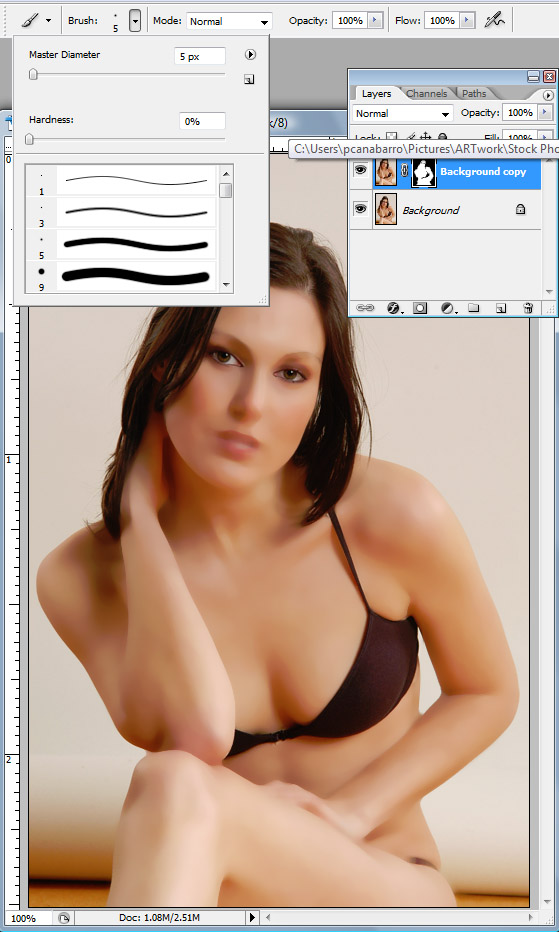
After you open the photo you want to use, duplicate the layer.

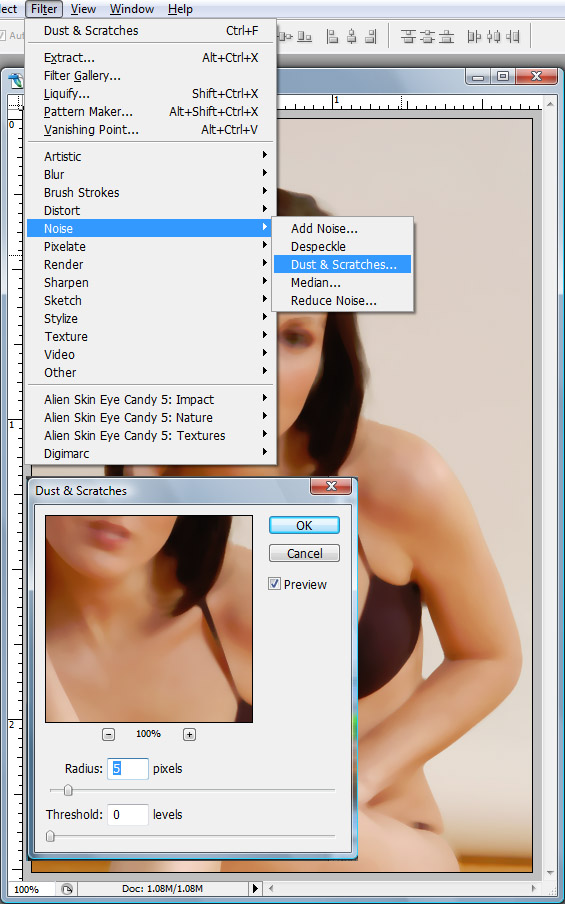
And apply Filter > Noise > Dust & Scratches ( Radius: 5 pixels and Thereshold 0 levels ).

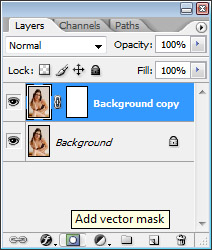
Now add a mask to your layer.

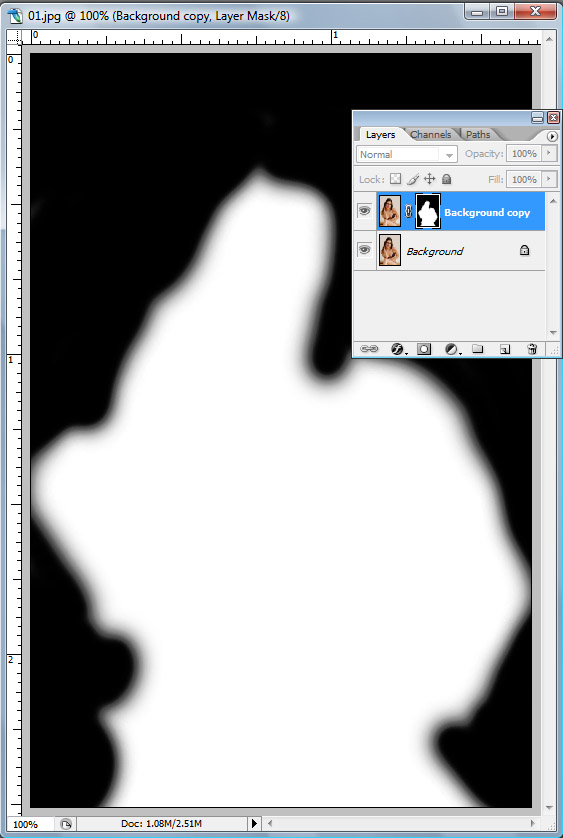
On the layer mask you just created, select a good size brush select the color black and paint the background and the hair, leaving only the skin area white as you see here:

( This way only the skin will have the Dust & Scratches effect we applied earlier)

And the photo will look like this:

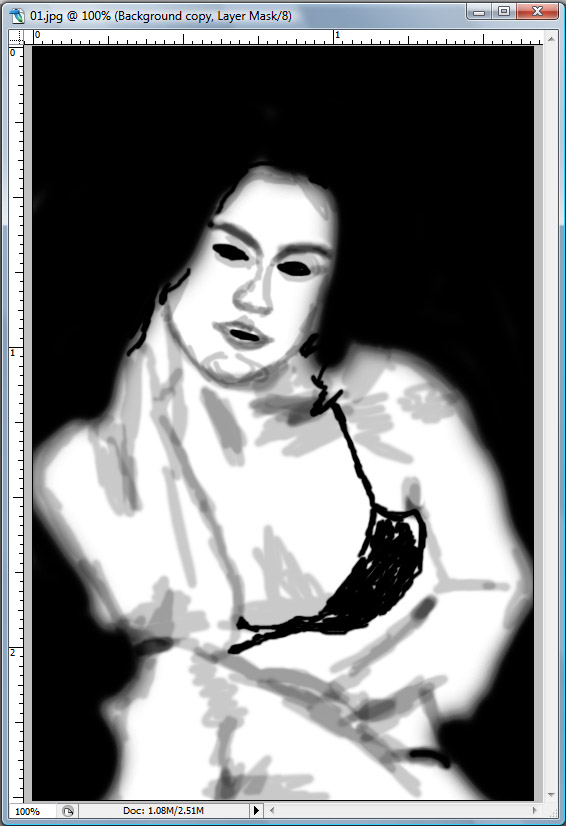
Now with a smaller brush keep painting with the color black, but now only the eyes and the bikini so they will also have the original look as you see here:

After you do that, change the Opacity of your brush to 25%

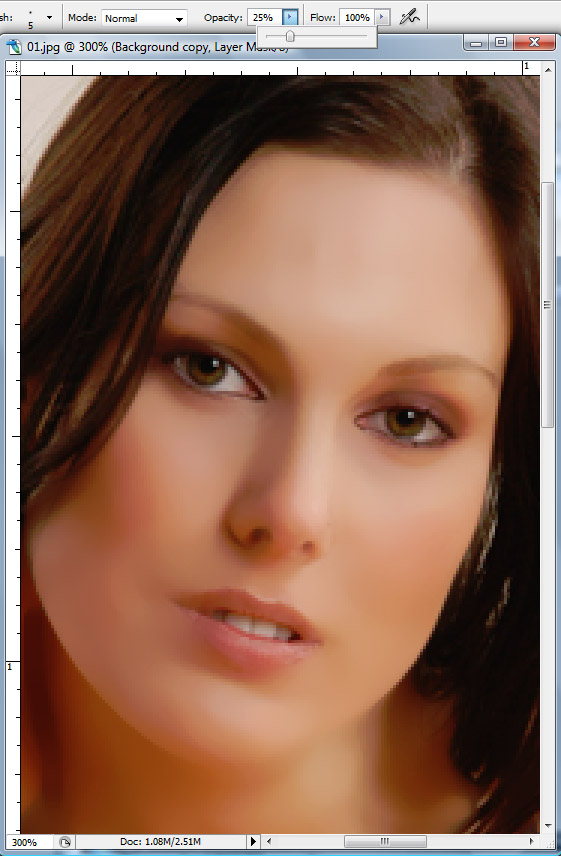
Now paint all the curves on her skin little by little on her face and body, go over the nose, mouth, chin, and most curves of her face and body just so her real face appearance will start to show again but with the clean skin, this is how your mask layer should look when you done:

And this is how the photo should look:

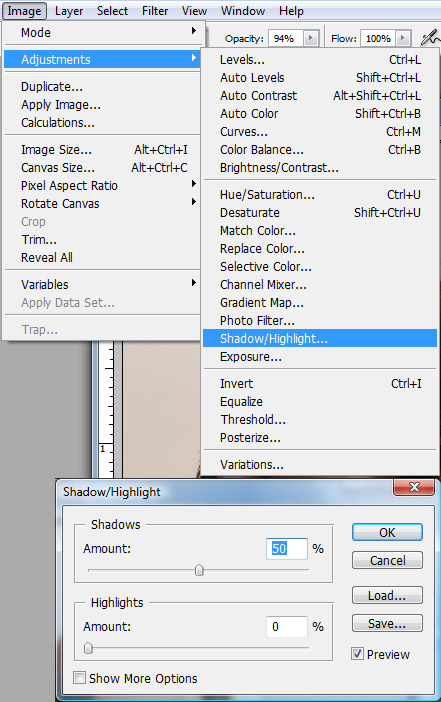
Now go back to the background layer

And apply Image > Adjustments > Shadow/Highlight ( The amount of Shadows is 50% and Highlights 0 ) so we can give more light to her hair.

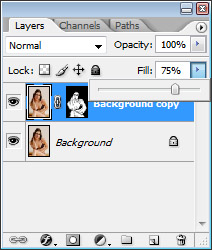
Go back to the Background Copy layer and change the Fill to 75% so her skin can look more realistic.

Here is the final result:


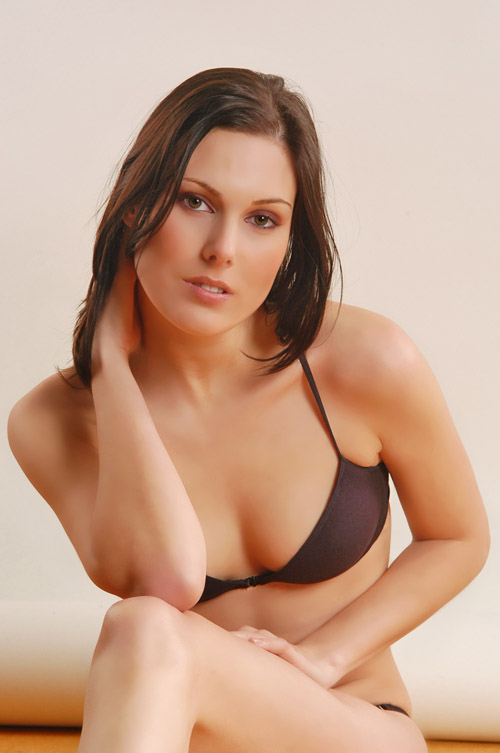
Click on the Image to compare the final result with the original.

This is the basic of creating a digital make up and from here we can work on the color of her skin adjust the background and add more touches to it. I will try to continue the tutorial as a series to a even better and more advanced result.

I hope everybody liked it and if you did show some love and leave a comment, if you didn't let me know and leave a comment too, I spent some time doing this,so spend a minute leaving your thoughts lol. Thank you very much!

Download the Photoshop File

Click here to download the PSD filed used for this tutorial

About author

User picture

Hello, my name is Paulo Canabarro aka paul0v2, a student and graphic artist that kinda like writing for cool blogs like this . For more posts from me and inspiration stuff you can Follow me on twitter!

visit my new website www.iloveteedesign.com

Sponsored Links:

I Love Tee Design

how you make the mask as you did ???

Anonymous's picture
Anonymous (not verified) 12/14/2008

Just a note. For a more complex picture isn't it easier to fill the mask with black, then draw white where you want the dust and scratches filter to appear? Rather than paint out the entire background, hair, teeth, etc... This way you just paint the white where you need the filtering.

Other than that, GREAT TUT!

01001010's picture
01001010 (not verified) 11/30/2008

Thx a lot, this is exactly what I was looking for :-)

Tomus's picture
Tomus (not verified) 11/26/2008

Excellent tutoriel !!!!!!!!!!!!!!!!!!!!!!

naceo bleu 11/26/2008

Excellent tutorial! Is there anyway you could make a paint shop pro 10/11 or higher version? I know for the most part they are simialar but I have always had Paint Shop Pro (currently pro photo X2, also known as pspp 12)and i find it difficult to transfer the tutorials, but i really like this one so i thought i would ask.
Anyways, great work! I would love to learn how to do more with psp.

Sam M's picture
Sam M (not verified) 11/17/2008

Nice... To be honest, the final result excellent. Maybe the colours are not so realistic. There's too much light on the hair... but it's good anyway... THANKS!

fedestigliano 11/01/2008

That was very nice and easy to follow, thanks. Looking forward to the series. First tutorial I have followed and got the same results as in the tutorial. Great job!

Kyutipye's picture
Kyutipye (not verified) 10/29/2008

Awesome.. Looking forward to the series.

Simon's picture
Simon (not verified) 10/19/2008

I don't know if it will get read all the way down here, but here it goes..

When you are selecting Shadow/Highlight to the Dust and Scratches effect, you're doing a destructive edit by going to adjustments.. I think it would be better served if you used an adjustment layer of Shadow/Highlight, and then Alt+Click between the new adjustment and the layer mask.. That should keep all of the masking preserved, in case you change your mind on things later..

~Neonicacid

Neonicacid's picture
Neonicacid (not verified) 10/19/2008

I think most of your tutorial are very good.
thank you so much for your contribution to the digital art community.

Le quan's picture
Le quan (not verified) 10/19/2008

I didn't care for this tut. The end result just wasn't that impressive.

Mels's picture
Mels (not verified) 10/14/2008

Excellent.. I've always wondered how this (and similar effects) were achieved. I just recently purchased a new pen for my Wacom Tablet (I never was any good at doing any kind of digital work with my mouse)- it should be there by the time I get home tonight. I'll have to give this a go.

Spyce's picture
Spyce 10/14/2008

I recommend you let her bra disappear in the next tutorial!

Meppel Webdesign's picture
Meppel Webdesign (not verified) 10/14/2008

this is absolutely awful I tried to do it but the result is simple the worst retouching I've ever seen.. I rather the way I use to do if you are going to post a tut be sure that this is a tut worth to read please...

i'm not the master of retouching but I'm not that bad! :S

kikaontiveros's picture
kikaontiveros (not verified) 10/14/2008

wow !!!!! that's very awesome, i reaaly love this tut and i wait for the serie !!!! thanks man, you made my day wonderful !!!! :D

Farishta's picture
Farishta (not verified) 10/14/2008

the finished output is horrible!
the lady doesn't need that much of retouching in the first place.

very flat for my taste. sorry paulo...

zmedia 10/14/2008

Cool tutorial. Thanks

insic2.0's picture
insic2.0 (not verified) 10/14/2008

THANX A lot , it is great !

craZed's picture
craZed (not verified) 10/13/2008

Eh. This is absolutely the wrong way to do beauty retouching.
Not to mention that they "retouched" version has been flattened out.
Looked before before it was worked on.

A for effort.
D for execution

Anonymous's picture
Anonymous (not verified) 10/13/2008

This tutorial has been posted many times all over the net.
It's nothing new.

Ryan Hicks's picture
Ryan Hicks (not verified) 10/13/2008

Dove: "No wonder our perception of beauty is distorted."
Nice tutorial though..^^

acus's picture
acus (not verified) 10/13/2008

Excellent tutorial. Thanks!

Jason's picture
Jason (not verified) 10/13/2008

I Can't see any pictures of the tutorial

Rox's picture
Rox (not verified) 10/13/2008

Nice tutorial dude!
-----------------------------------
We <3 HamBoneZ !

HamBoneZ's picture
HamBoneZ 10/13/2008

Pretty sweet tut, obrigado velho

Not to mention the sweet looking gril

http://flickr.com/photos/alexanderblacker/

blacker design 10/13/2008

This result is too much simple to need all of this.

It's not hard to implement a very similar result using just 2 simple math steps. PS has millions of menu items ... hard to believe it doesn't have the easy and direct way to make something like this.

Well ... anyway, no software has everything.

I will implement a easy "pseudo-makeup" effect when I have time to.

-------------------------------------------
http://picturetopeople.blogspot.com
Get Inside Computer Graphics

leocda's picture
leocda 10/13/2008

Great tut,

Needs an edit though, as you've posted it twice in the same comment.

thanks

Aaron Miller's picture
Aaron Miller (not verified) 10/13/2008

Nice tut ! Simple, yet effective. Thx dude ;)

Anordil's picture
Anordil (not verified) 10/13/2008

Post new comment

The content of this field is kept private and will not be shown publicly.
If you have a Gravatar account, used to display your avatar.
CAPTCHA
This question is for testing whether you are a human visitor and to prevent automated spam submissions.